YoloV2 using AMD WinML Extension#
This application shows how to run tiny yolov2 (20 classes) with MIVisionX RunTime:
A c/c++ implementation for region layer of yolov2
A sample for running yolov2 with MIVisionX
Pre-requisites#
Windows
10/11, version1809or laterWindows SDK, build
17763or laterVisual Studio 2019, version
16.11.5or later
Visual Studio extension for C++/WinRT
Install OpenCL SDK
OpenCV 3.1 or higher
Set
OpenCV_DIRenvironment variable toOpenCV/buildfolderAdd
OpenCV_DIR\x64\vc14\binorOpenCV_DIR\x64\vc15\binto yourPATH
Run#
Step 1. Get ONNX model#
Train your YoloV2 ONNX model or get it from onnx github. ONNX version 1.3 is recommended.
Step 2. Build the app using MIVisionX_winml_YoloV2.sln on Visual Studio.#
Step 3. Run tests#
Open up the command line prompt or Windows Powershell and use the following commands to run the tests.
Usage:#
Image
.\MIVisionX_winml_YoloV2.exe --image [image - required] --modelLoc [modelLocation - required] --confidence [1-100 - optional, default: 20]
Camera Capture
.\MIVisionX_winml_YoloV2.exe --capture [0 - required] --modelLoc [modelLocation - required] --confidence [1-100 - optional, default: 20]
Video
.\MIVisionX_winml_YoloV2.exe --video [video - required] --modelLoc [modelLocation - required] --confidence [1-100 - optional, default: 20]
The confidence parameter is an optional parameter that sets the confidence level of detection. Lower the confidence level if the detection is not good enough.
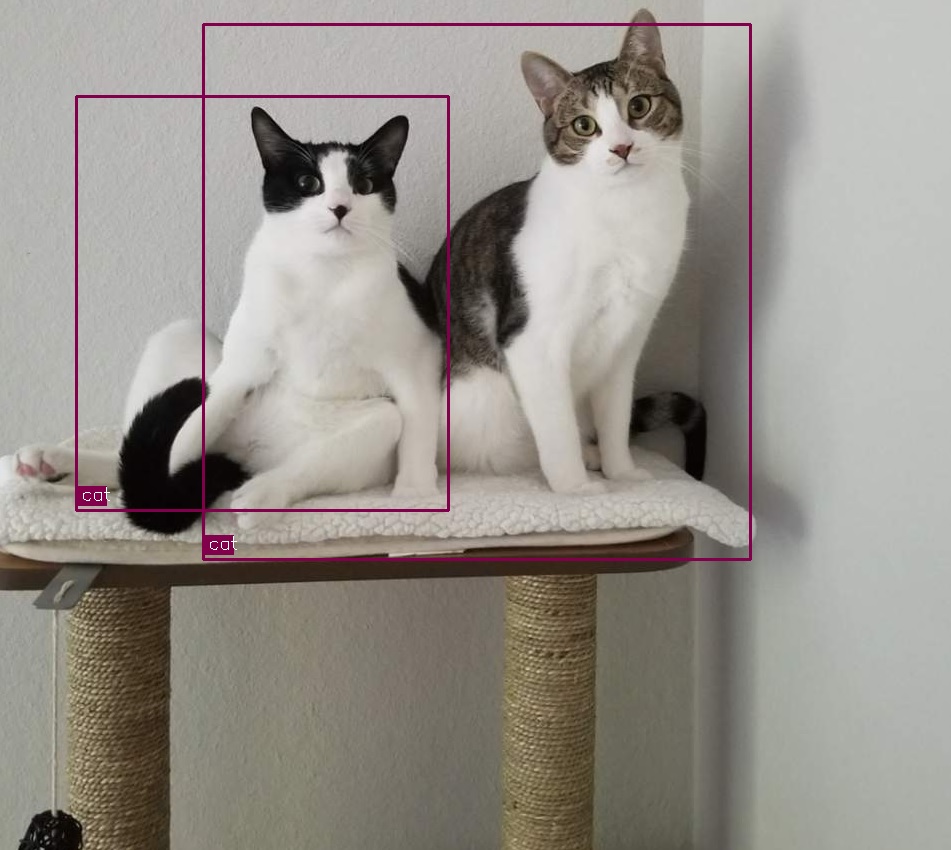
Example#
.\MIVisionX_winml_YoloV2.exe --image image\cat.jpg --modelLoc model.onnx
Update parameters#
Please update parameters (biases, object names, etc) in /source/Region.cpp, and parameters (dim, blockwd, targetBlockwd, classes, etc) in /source/AnnieYoloDetect.cpp