Install ROCm Optiq#
2026-07-14
3 min read time
Install ROCm Optiq for Windows or Linux using the installation files in the ROCm/roc-optiq GitHub repository.
System requirements#
You must be running ROCm 7.1.0 or later for ROCm Systems Profiler database file support, and ROCm 7.12.0 or later for ROCm Compute Profiler analysis database file support.
Tip
Use this command to check which ROCm version is installed on your machine:
cat /opt/rocm/.info/versionFor LDS roofline chart support, ROCm Compute Profiler analysis database schema 1.4.0 is required (ROCm 7.14.0 or later).
Your system must be running one of these operating systems:
Microsoft Windows 11
Ubuntu 22.04 / 24.04 (Debian-based)
CentOS Stream 9
macOS 14 or 15
Note
Use at least 16 GB of RAM to run large traces in ROCm Optiq.
Install on Windows#
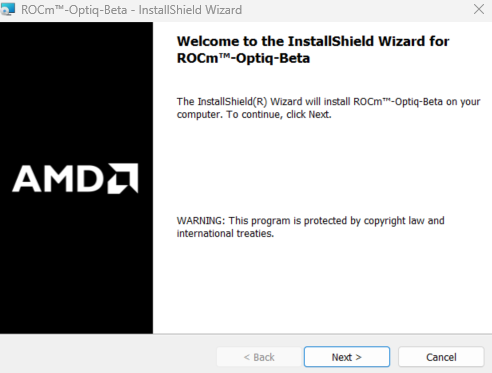
Download the ROCm-Optiq-Beta.exe installer from the ROCm Optiq GitHub repo and follow the instructions in the install wizard.
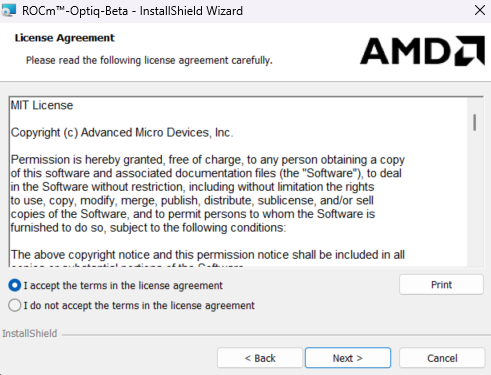
Accept the agreement to install, then follow the installation instructions.
Launch roc-optiq.exe from the installation directory.
Install on Linux#
Identify the operating system#
If you’re unsure of the Linux distribution and version, the /etc/os-release and /usr/lib/os-release files contain this information.
$ cat /etc/os-release
NAME="Ubuntu"
VERSION_ID="24.04"
VERSION="24.04.3 LTS (Noble Numbat)"
VERSION_CODENAME=noble
ID=ubuntu
The relevant fields are ID and the VERSION_ID.
Ubuntu (Debian-based)#
Download the
.debpackage from the ROCm Optiq GitHub repo.Install the
.debpackage:sudo apt install ./<file>.deb
Verify the installation:
dpkg -l | grep roc-optiq
Tip
Download the latest .deb from the ROCm Optiq GitHub repo to ensure ROCm Optiq is up-to-date.
Check the ROCm Optiq version#
Use these commands to verify the ROCm Optiq version (when installed on Ubuntu):
apt show roc-optiq
Add ROCm binaries to your PATH#
Once you’ve installed ROCm Optiq for your operating system, add the ROCm binaries to your PATH if it isn’t automatically configured:
export PATH=opt/roc-optiq/bin:$PATH
Install on CentOS Stream 9#
Download the appropriate
.rpmpackage from GitHub Releases.Install the package:
sudo dnf install ./roc-optiq-*.rpm.Verify the installation:
rpm -q roc-optiq.
Install on macOS#
Download
roc-optiq_0.5.0_macos.zipfrom GitHub Releases.Drag and drop
roc-optiq.appfrom theroc-optiq_0.5.0_macosfolder to theApplicationsfolder.Launch ROCm Optiq from Applications.
Settings, logs, and presets are stored at: ~/Library/Application Support/ROCm-Optiq/.