Install ComfyUI#
Install ComfyUI on AMD GPUs.
Prerequisites#
Ensure Python 3.12 is installed.
Ensure 26.2.2 graphics driver is installed. Refer to Install PyTorch for Ryzen APUs for more information.
Installation#
Follow these steps to install ComfyUI.
Create and activate a Python virtual environment in a directory of your choice.
python -m venv comfyui-venv
comfyui-venv\Scripts\activate
Install PyTorch (ROCm) wheels. See Install PyTorch for Ryzen APUs for install instructions.
Clone the ComfyUI repository.
git clone https://github.com/comfyanonymous/ComfyUI.git
Note
See ComfyUI Github for more information.Install ComfyUI requirements.
pip install -r requirements.txt
Launch ComfyUI.
Note
Users must return to the home directory of the repository in order to run main.py.python main.py
Click the URL to open ComfyUI in a browser.
Note
After running the above command, ensure that the Pytorch version seen in the terminal is the ROCm 7.2.1 specific one.Note
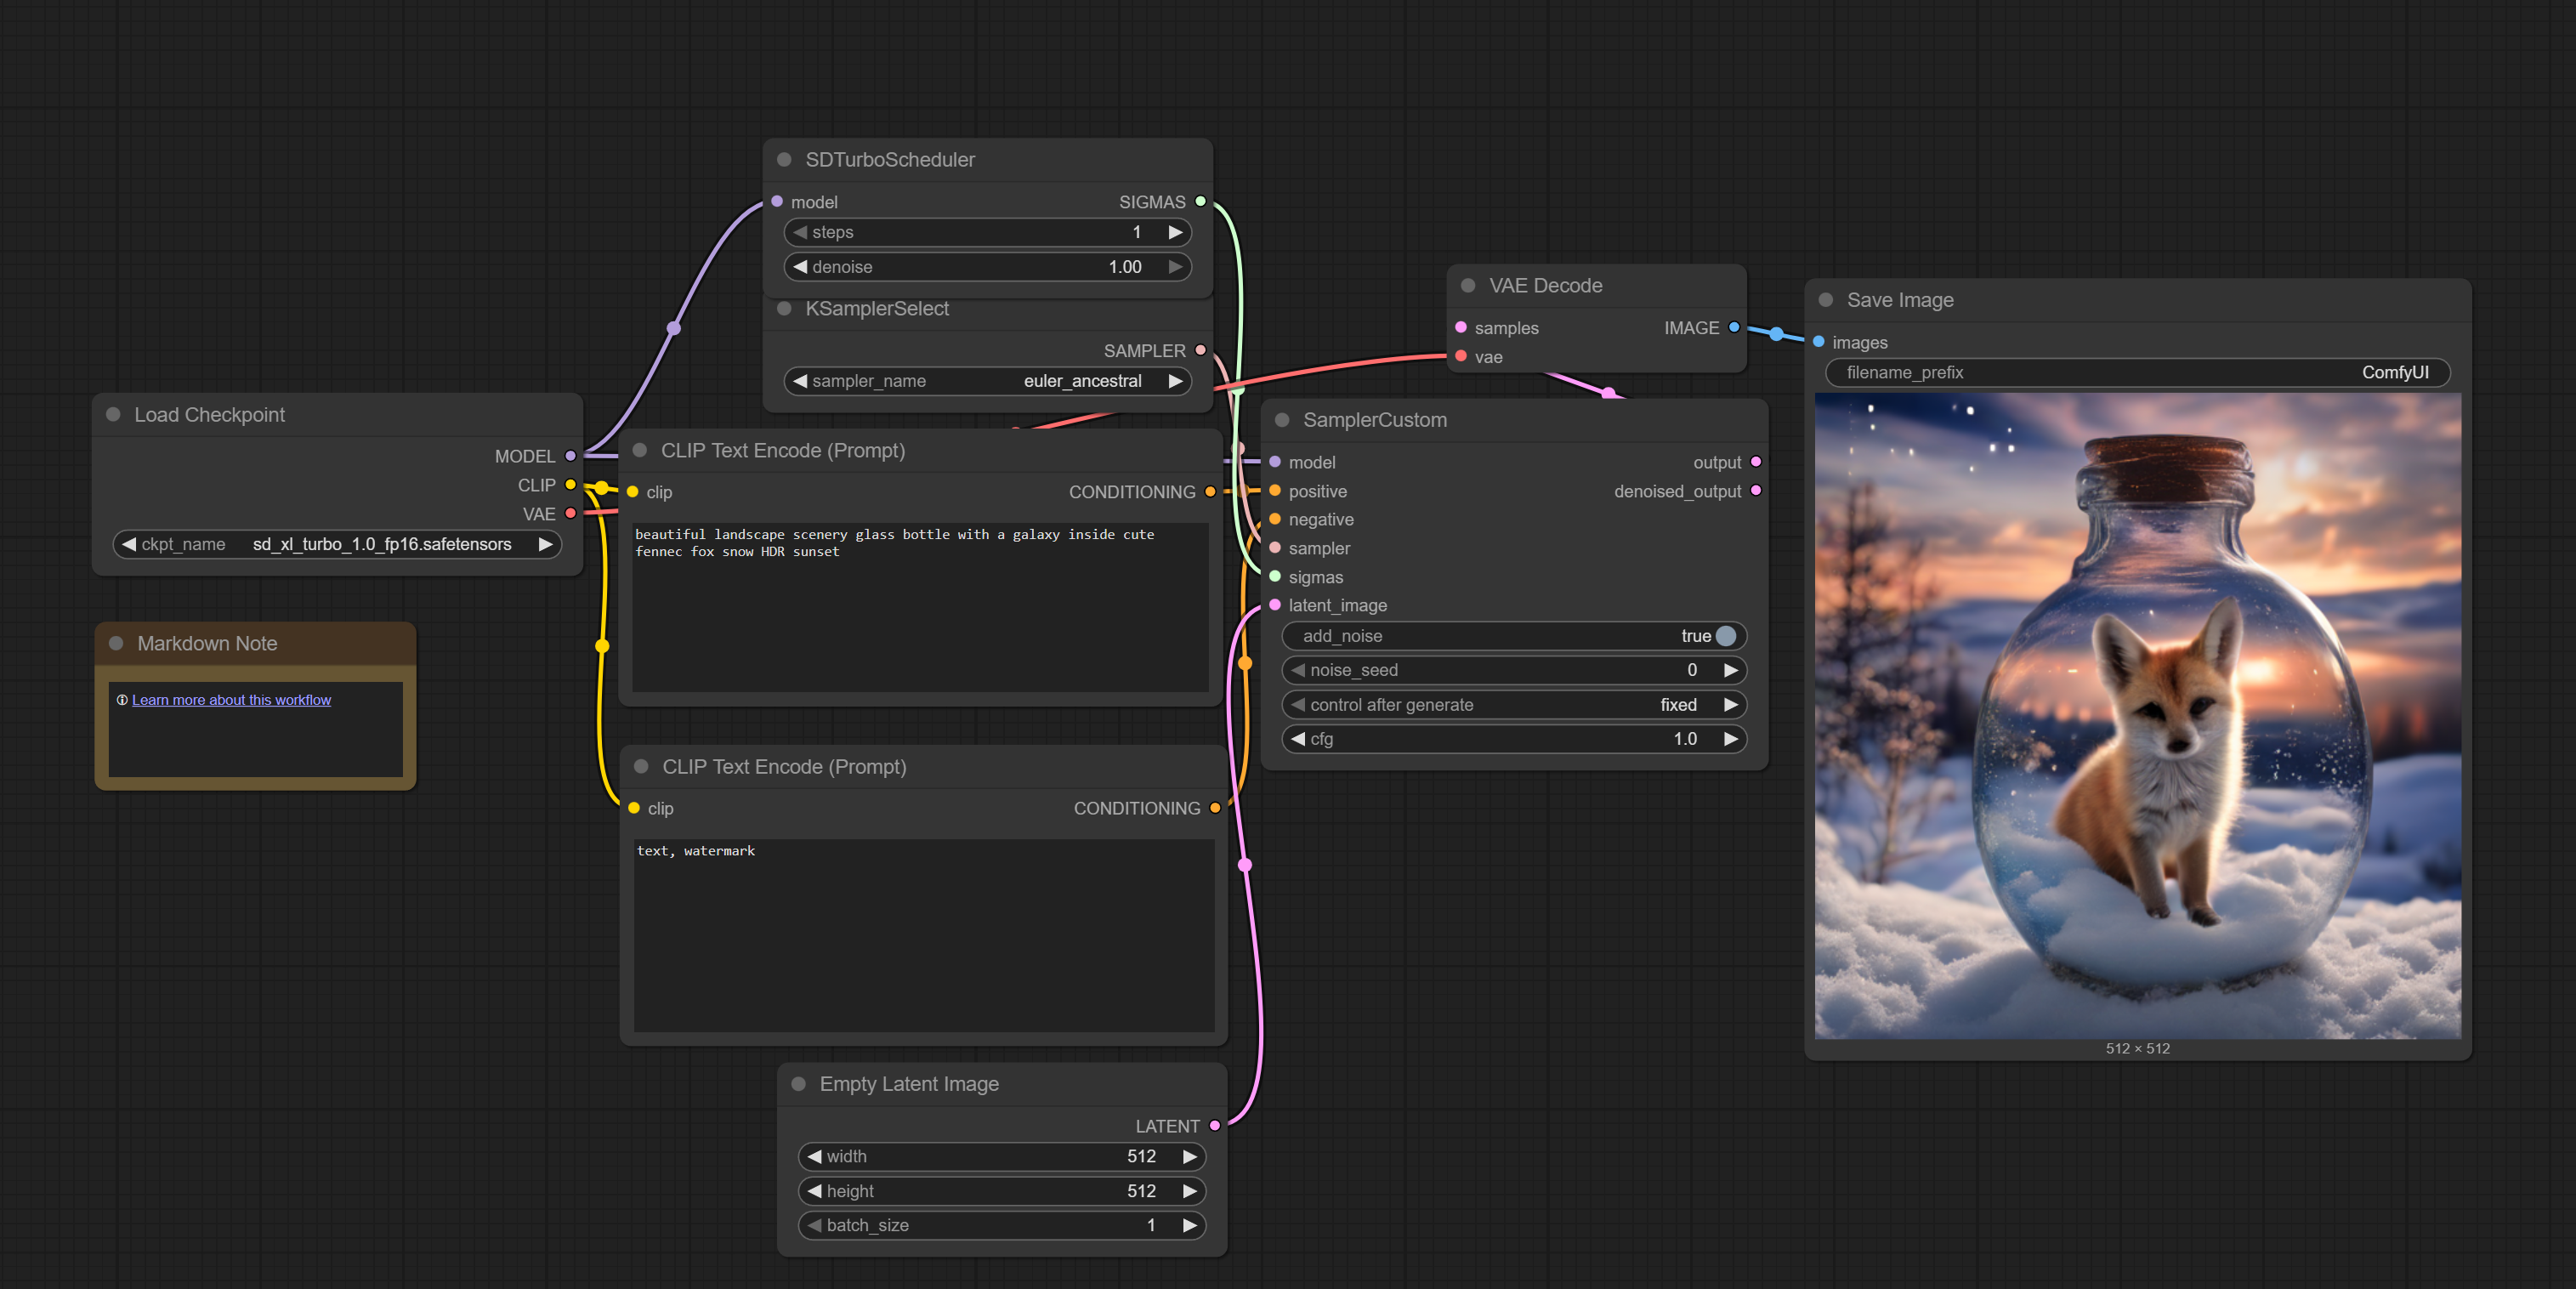
If running on low-memory configs, try adding the--lowvramand--disable-pinned-memoryparameters to the run command.From the ComfyUI frontend, click on Templates → Search for ‘SDXL Turbo’ → Follow prompt for model install and place it into the ‘checkpoints’ folder under ComfyUI>models>checkpoints.
From the ComfyUI frontend, click ‘Run’ to begin image generation.