Install ComfyUI#
Install ComfyUI on AMD GPUs.
Prerequisites#
ROCm is installed.
Installation#
Follow these steps to install ComfyUI.
Install the Python
venvpackage for the applicable Python version.sudo apt install python3.12-venv
Create a Python virtual environment.
python3 -m venv comfyui-venv
source comfyui-venv/bin/activate
Install the latest PyTorch ROCm wheels in the environment created.
Note
Refer to Install Pytorch for Ryzen APUs for more comprehensive install instructions. Proceed to install within the environment if the wheels are already downloaded to the system. Example command:pip3 install <torch wheel> <torchaudio wheel> <torchvision wheel> <triton wheel>
Clone the ComfyUI repository.
git clone https://github.com/comfyanonymous/ComfyUI.git && cd ComfyUI
Note
See ComfyUI Github for more information.
Install ComfyUI requirements.
pip install -r requirements.txt
Launch ComfyUI.
Note
Users must return to the home directory of the repository in order to run main.py.python3 main.py
Click the URL to open ComfyUI in a browser.
Note
After running the above command, ensure that the Pytorch version seen in the terminal is the ROCm 7.2.1 specific one.Note
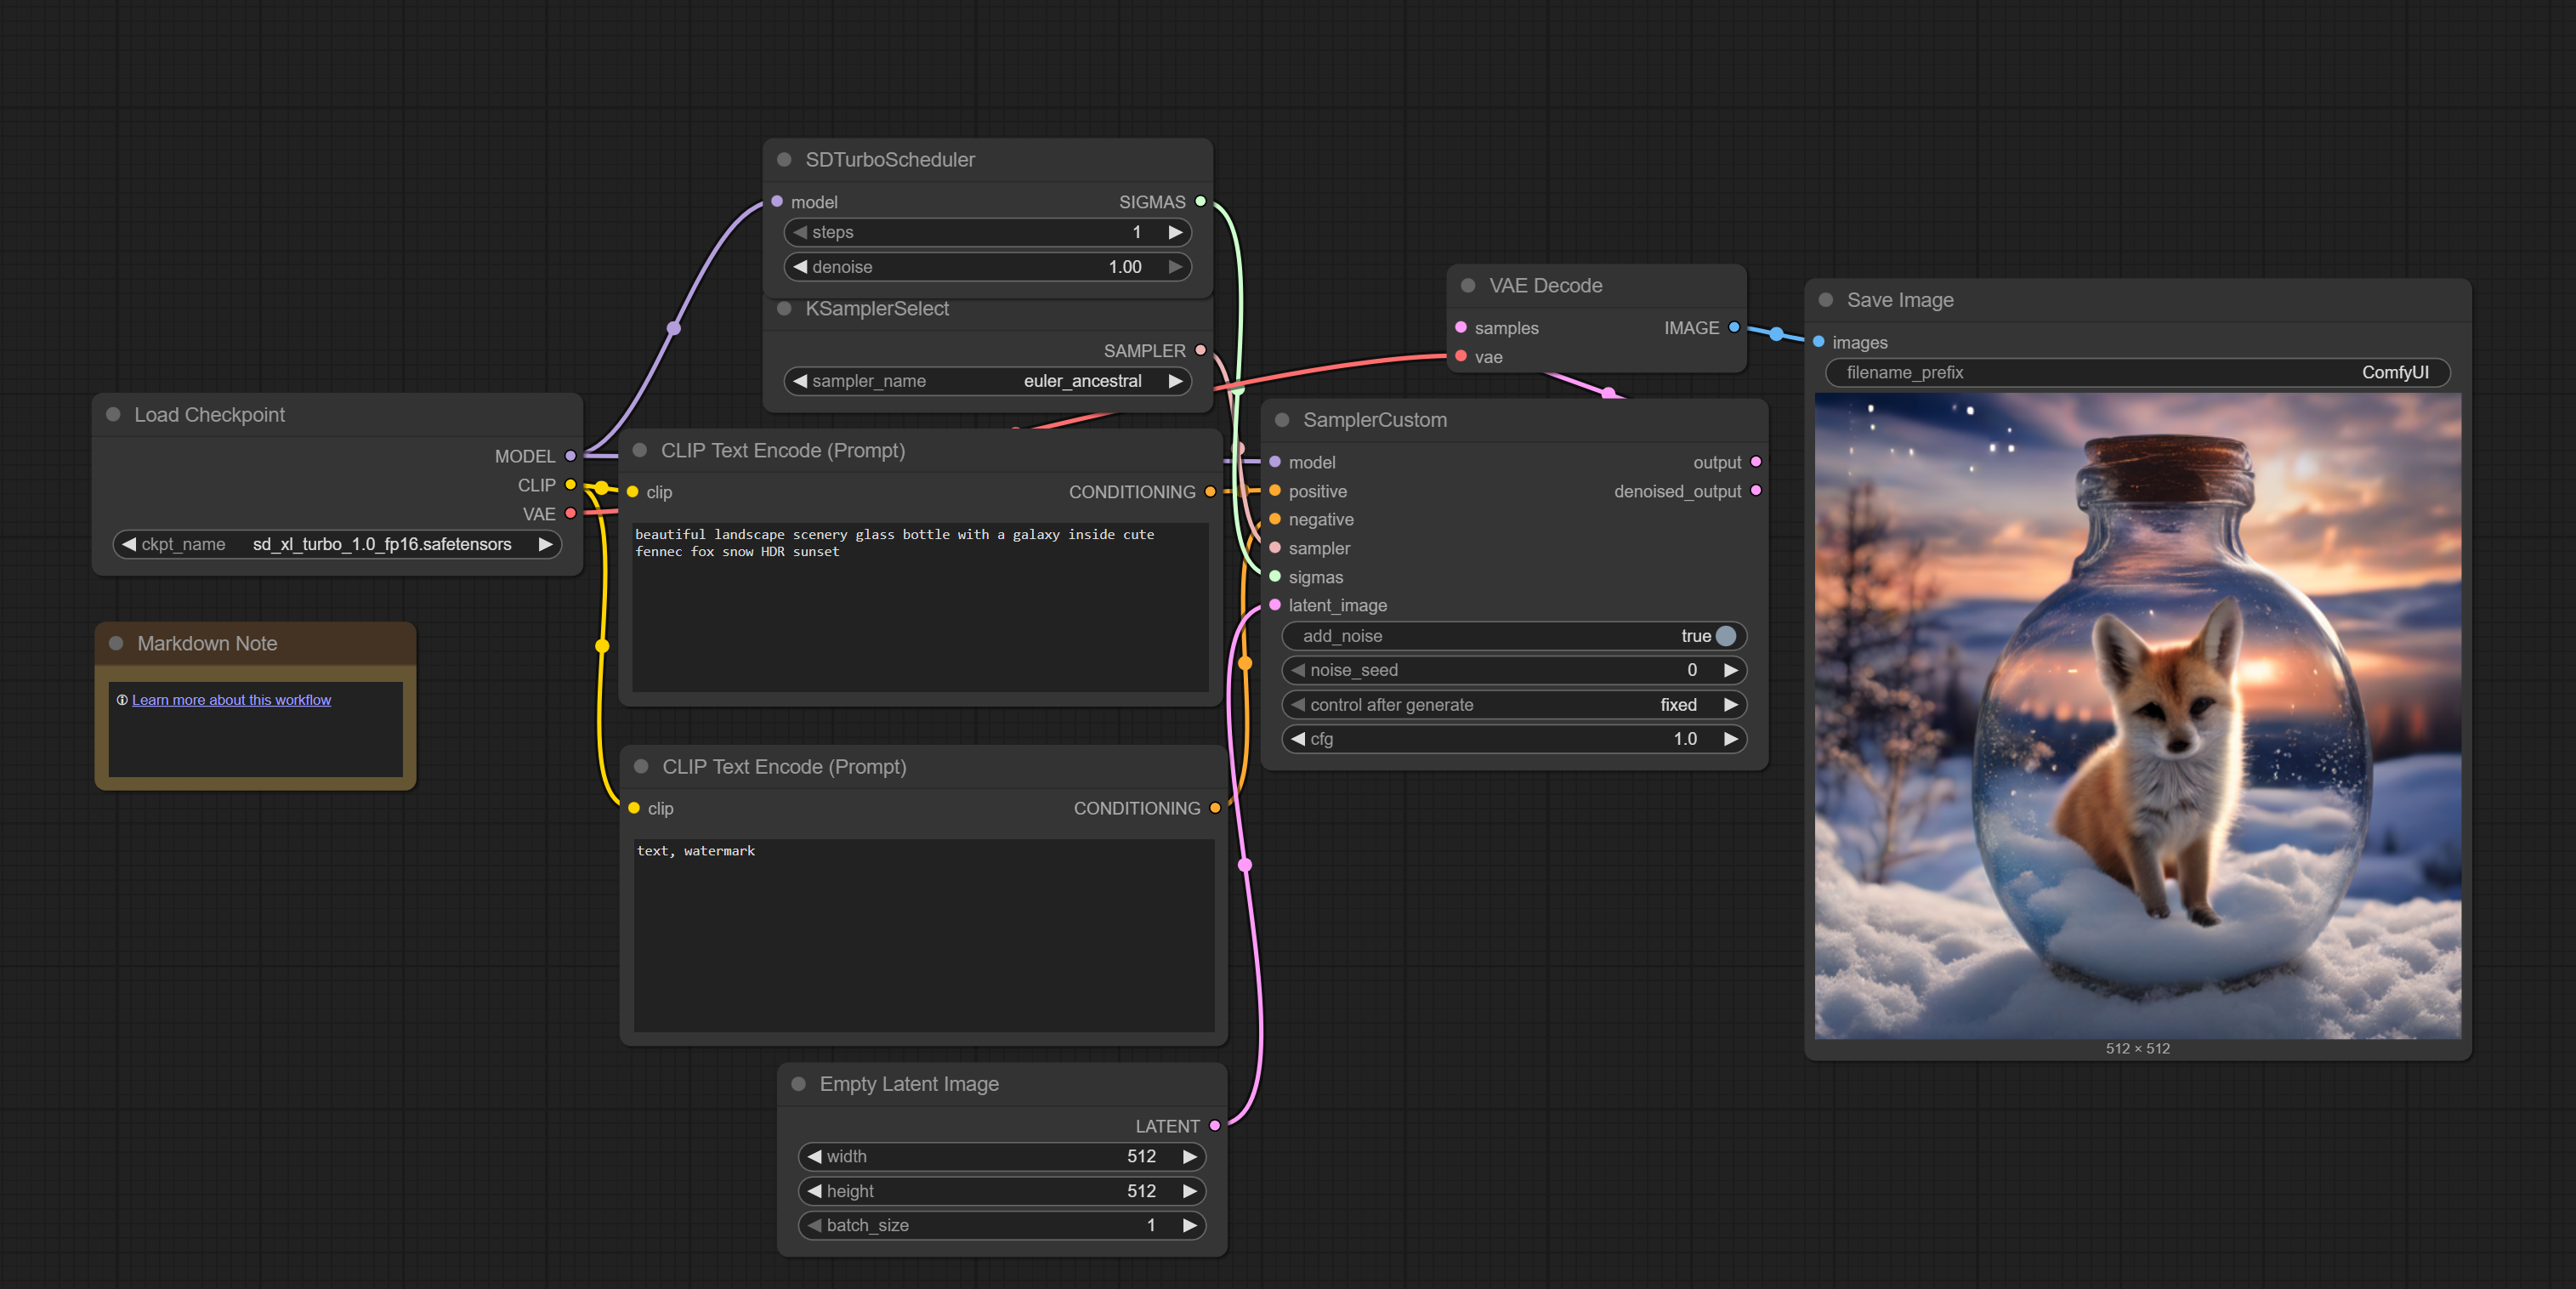
If running on low-memory configs, try adding the--lowvramand--disable-pinned-memoryparameters to the run command.From the ComfyUI frontend, click on Templates → Search for ‘SDXL Turbo’ → Follow prompt for model install and place it into the ‘checkpoints’ folder under ComfyUI>models>checkpoints.

From the ComfyUI frontend, click ‘Run’ to begin image generation.