Run Cluster Validation Suites tests#
2025-11-21
11 min read time
The CVS PyTest scripts are in the cvs/tests folder of the cloned GitHub repository.
Every test must be run from the cvs root folder, as the system lib paths have been set accordingly.
These are the arguments typically used in these test scripts:
-log-file: The text log file where the Python logger outputs are captured.-s: The script that PyTest executes.--cluster_file: The location of the cluster file, which has the details of the cluster, IPs, and access details.--config_file: This is the configuration file used for the test. Depending on the test suite being run, the configuration might vary. The sample input files are organized as sub-directories under thecvs/inputfolder, similar to the PyTests.--html: This is the output HTML report file generated by PyTest at the end of the script. It has a summary of the number of test cases that have passed/failed. You can navigate to the logs directly in the browser from this report.--capture=tee-sys: Captures allstd.outandstd.errwrites from your tests.--self-contained-html: Generate as a single HTML report, including the styling and embedded images for all test cases.
You can also create a wrapper shell script to run multiple test suites sequentially by putting the different PyTest run commands in a bash script as described in the README file under the cvs/tests/health folder.
Run CVS test scripts#
Platform test script#
The host check scripts can validate various host-side configurations, such as model load balancing enablement, PCIe checks, kernel version, and ROCm version.
Here are the host check test cases:
check_os_releasecheck_kernel_versioncheck_bios_versioncheck_gpu_fw_versioncheck_online_memorycheck_dmesg_driver_errorscheck_rocm_versioncheck_pci_realloccheck_iommu_ptcheck_numa_balancingcheck_pci_accelaratorscheck_pci_speed_widthcheck_pci_acs
Here’s the test script:
pytest -vvv --log-file=/tmp/test.log -s ./tests/platform/host_configs_cvs.py --cluster_file input/cluster_file/cluster.json --config_file input/config_file/platform/host_config.json --html=/var/www/html/cvs/host.html --capture=tee-sys --self-contained-html
Burn-in health test scripts#
The burn-in health tests are single node diagnostic tests that validate the hardware and firmware versions’ functionality and performance.
For the performance validation, they use the reference bandwidth or latency numbers provided as part of the input config_file for the relevant test.
Use these scripts to run each health test. These CVS test scripts have two parts: installing the functionality and running the tests.
AGFHC#
See the AGFHC (AMD GPU Field Health Check) docs for more information.
These are the test cases for AGFHC:
test_agfhc_hbmtest_agfhc_hbm1_lvl5test_agfhc_hbm2_lvl5test_agfhc_hbm3_lvl3test_agfhc_dma_all_lvl1test_agfhc_dma_lvl1test_agfhc_gfx_lvl1test_agfhc_pcie_lvl1test_agfhc_pcie_lvl3test_agfhc_xgmi_lvl1test_agfhc_all_perftest_agfhc_all_lvl5
Use these scripts to start the test:
Run the installation:
pytest -vvv --log-file=/tmp/test.log -s ./tests/health/install/install_agfhc.py --cluster_file input/cluster_file/cluster.json --config_file input/config_file/health/mi300_health_config.json --html=/var/www/html/cvs/agfhc.html --capture=tee-sys --self-contained-html
Run the AGFHC test:
pytest -vvv --log-file=/tmp/test.log -s ./tests/health/agfhc_cvs.py --cluster_file input/cluster_file/cluster.json --config_file input/config_file/health/mi300_health_config.json --html=/var/www/html/cvs/agfhc.html --capture=tee-sys --self-contained-html
Run the CSP qualification test:
pytest -vvv --log-file=/tmp/test.log -s ./tests/health/csp_qual_agfhc.py --cluster_file input/cluster_file/cluster.json --config_file input/config_file/health/mi300_health_config.json --html=/var/www/html/cvs/agfhc.html --capture=tee-sys --self-contained-html
TransferBench#
See the TransferBench docs for more information.
These are the test cases for TransferBench:
test_transfer_bench_example_tests_1_6_ttest_transfer_bench_a2atest_transfer_bench_p2ptest_transfer_bench_healthchecktest_transfer_bench_a2asweeptest_transfer_bench_scalingtest_transfer_bench_schmoo
Use these scripts to start the test:
Run the installation:
pytest -vvv --log-file=/tmp/test.log -s ./tests/health/install/install_transferbench.py --cluster_file input/cluster_file/cluster.json --config_file input/config_file/health/mi300_health_config.json --html=/var/www/html/cvs/transferbench.html --capture=tee-sys --self-contained-html
Start the TransferBench test:
pytest -vvv --log-file=/tmp/test.log -s ./tests/health/transferbench_cvs.py --cluster_file input/cluster_file/cluster.json --config_file input/config_file/health/mi300_health_config.json --html=/var/www/html/cvs/transferbench.html --capture=tee-sys --self-contained-html
RVS#
See the ROCm Validation Suite (RVS) docs for more information.
These are the test cases for RVS:
mem_testgst_singleiet_stresspebb_singlepbqt_singlebabel_stream
Use these scripts to start the test:
Run the installation:
pytest -vvv --log-file=/tmp/test.log -s ./tests/health/install/install_rvs.py --cluster_file input/cluster_file/cluster.json --config_file input/config_file/health/mi300_health_config.json --html=/var/www/html/cvs/rvs.html --capture=tee-sys --self-contained-html
Start the RVS test:
pytest -vvv --log-file=/tmp/test.log -s ./tests/health/rvs_cvs.py --cluster_file input/cluster_file/cluster.json --config_file input/config_file/health/mi300_health_config.json --html=/var/www/html/cvs/rvs.html --capture=tee-sys --self-contained-html
InfiniBand (IB Perf) test script#
IB Perf and latency tests measure network performance. Perf tests measure throughput (bandwidth), and latency tests measure delay.
Perf tests, such as ib_write_bw, evaluate the maximum data transfer rate under different message sizes.
Latency tests, such as ib_send_lat, measure the time it takes for a message to travel between two nodes and often report results like minimum, median, and maximum latency.
These are the IB Perf test cases:
test_install_ib_perftest_ib_bw_perftest_ib_lat_perftest_build_ib_bw_perf_charttest_build_ib_lat_perf_chart
Use these scripts to start the test:
Run the installation:
pytest -vvv --log-file=/tmp/test.log -s ./tests/ibperf/install_ibperf_tools.py --cluster_file input/cluster_file/cluster.json --config_file input/config_file/ibperf/ibperf_config.json --html=/var/www/html/cvs/ib.html --capture=tee-sys --self-contained-html
Start the IB Perf test:
pytest -vvv --log-file=/tmp/test.log -s ./tests/ibperf/ib_perf_bw_test.py --cluster_file input/cluster_file/cluster.json --config_file input/config_file/ibperf/ibperf_config.json --html=/var/www/html/cvs/ib.html --capture=tee-sys --self-contained-html
ROCm Communication Collectives Library (RCCL) test script#
These RCCL tests are comprehensive benchmarks that validate distributed GPU communication performance across AMD GPU clusters. These tests ensure optimal performance for AI training, HPC workloads, and distributed computing.
Here are the RCCL test cases:
hostinfonetworkinfoall_reduce_perfall_gather_perfscatter_perfgather_perfreduce_scatter_perf0reduce_scatter_perf1sendrecv_perfalltoall_perfalltoallv_perfbroadcast_perf
Note
You should already have your RCCL environment setup in all of the nodes. If not, see Build collective tests for more information.
Use these test scripts to run the JAX tests.
Single node test MI35XX#
pytest -vvv --log-file=/tmp/test.log -s ./tests/rccl/rccl_singlenode_cvs.py --cluster_file input/cluster_file/cluster.json --config_file input/config_file/rccl/single_node_mi355_rccl.json --html=/var/www/html/cvs/rccl.html --capture=tee-sys --self-contained-html
Multi-node test MI3XX#
pytest -vvv --log-file=/tmp/test.log -s ./tests/rccl/rccl_multinode_cvs.py --cluster_file input/cluster_file/cluster.json --config_file input/config_file/rccl/rccl_config.json --html=/var/www/html/cvs/rccl.html --capture=tee-sys --self-contained-html
JAX training test scripts#
The JAX training tests perform end-to-end orchestration and validation of a distributed JAX training run (Llama 3.1) across a multi-node cluster using Docker containers, remote execution, and the project’s JAX library.
The file uses PyTest and parallel SSH to prepare the environment, launch containers, and run/verify a short distributed training job.
These are the JAX training test cases:
test_llama_3_1_70b_trainingtest_llama_3_1_405b_distributedtest_llama_3_1_70b_trainingtest_llama_3_1_405b_distributed
Use these test scripts to run the JAX tests.
Note
Ensure all nodes are capable of running dockers.
Single Node 70b MI3XX#
pytest -vvv --log-file=/tmp/test.log -s ./tests/training/jax/singlenode_llama_3_1_70b.py --cluster_file input/cluster_file/cluster.json --config_file input/config_file/training/jax/mi300x_singlenode_llama3_1_70b.json --html=/var/www/html/cvs/jax.html --capture=tee-sys --self-contained-html
Single Node 70b MI35X#
pytest -vvv --log-file=/tmp/test.log -s ./tests/training/jax/singlenode_llama_3_1_70b.py --cluster_file input/cluster_file/cluster.json --config_file input/config_file/training/jax/mi35x_singlenode_llama_3_1_70b.json --html=/var/www/html/cvs/jax.html --capture=tee-sys --self-contained-html
Distributed 70b MI3XX#
pytest -vvv --log-file=/tmp/test.log -s ./tests/training/jax/distributed_llama_3_1_70b.py --cluster_file input/cluster_file/cluster.json --config_file input/config_file/training/jax/mi300x_distributed_llama3_1_70b.json --html=/var/www/html/cvs/jax.html --capture=tee-sys --self-contained-html
Distributed 405b MI3XX#
pytest -vvv --log-file=/tmp/test.log -s ./tests/training/jax/distributed_llama3_1_405b.py --cluster_file input/cluster_file/cluster.json --config_file input/config_file/training/jax/mi300x_distributed_llama_3_1_405b.json --html=/var/www/html/cvs/jax.html --capture=tee-sys --self-contained-html
Megatron training test scripts#
Megatron training enables scaling transformer models from millions to trillions of parameters by efficiently utilizing hundreds or thousands of GPUs across multiple nodes.
The Megatron tests check:
Container orchestration: Docker setup with ROCm/RDMA
Multi-node communication: NCCL/RCCL initialization
Model convergence: Loss decreases and no NaN/Inf values
Performance targets: Throughput and memory usage within expected ranges
Result verification: Expected tokens/sec and TFLOPS metrics
Here are the Megatron training test cases:
test_disable_firewalltest_cleanup_stale_containerstest_launch_megatron_containerstest_llama_3_1_fp8_single_node
Use these scripts to run the Megatron tests.
Single Node 8b MI3XX#
pytest -vvv --log-file=/tmp/test.log -s ./tests/training/megatron/singlenode_llama_3_1_8b.py --cluster_file input/cluster_file/cluster.json --config_file input/config_file/training/megatron/mi3xx_singlenode_megatron_llama.json --html=/var/www/html/cvs/megatron.html --capture=tee-sys --self-contained-html
Single Node 8b MI35X#
pytest -vvv --log-file=/tmp/test.log -s ./tests/training/megatron/singlenode_llama_3_1_8b.py --cluster_file input/cluster_file/cluster.json --config_file input/config_file/training/megatron/ mi35x_singlenode_megatron_llama.json --html=/var/www/html/cvs/megatron.html --capture=tee-sys --self-contained-html
Single Node 70b MI3XX#
pytest -vvv --log-file=/tmp/test.log -s ./tests/training/megatron/singlenode_llama_3_1_70b.py --cluster_file input/cluster_file/cluster.json --config_file input/config_file/training/megatron/mi3xx_singlenode_megatron_llama.json --html=/var/www/html/cvs/megatron.html --capture=tee-sys --self-contained-html
Single Node 70b MI35X#
pytest -vvv --log-file=/tmp/test.log -s ./tests/training/megatron/singlenode_llama_3_1_70b.py --cluster_file input/cluster_file/cluster.json --config_file input/config_file/training/megatron/mi35x_singlenode_megatron_llama.json --html=/var/www/html/cvs/megatron.html --capture=tee-sys --self-contained-html
Distributed 8b#
pytest -vvv --log-file=/tmp/test.log -s ./tests/training/megatron/distributed_llama3_1_8b.py --cluster_file input/cluster_file/cluster.json --config_file input/config_file/training/megatron/ mi3xx_distributed_megatron_llama.json --html=/var/www/html/cvs/megatron.html --capture=tee-sys --self-contained-html
Distributed 70b#
pytest -vvv --log-file=/tmp/test.log -s ./tests/training/megatron/distributed_llama3_1_70b.py --cluster_file input/cluster_file/cluster.json --config_file input/config_file/training/megatron/ mi3xx_distributed_megatron_llama.json --html=/var/www/html/cvs/megatron.html --capture=tee-sys --self-contained-html
Test results#
The test output is captured in an HTML report generated by PyTest. It provides a summary of the number of test cases that have passed/failed. You can navigate to the logs directly in the browser from this report.
CVS creates a log folder and captures the output of every test in a log file here: $HOME/tmp/test.log
Tip
If there are any errors that prevent the tests from starting, an error message with an appropriate suggestion will be printed in the console.
Test output examples#
Test results are also displayed on the console.
Here’s an example of the output when a test installs the functionality successfully:
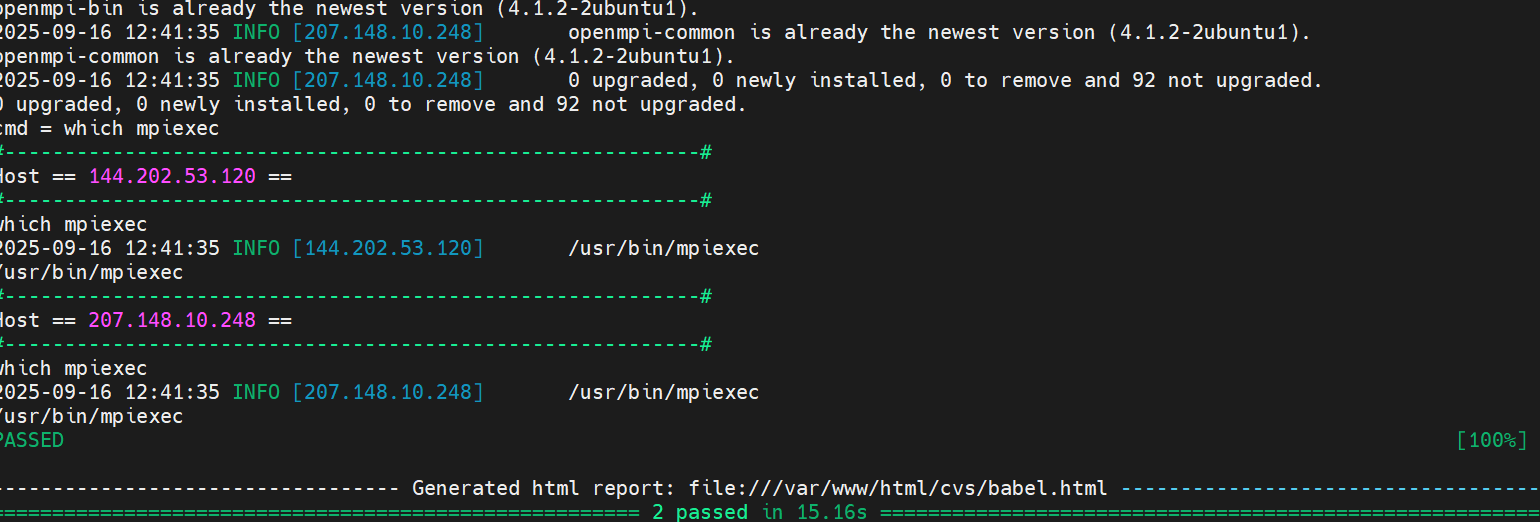
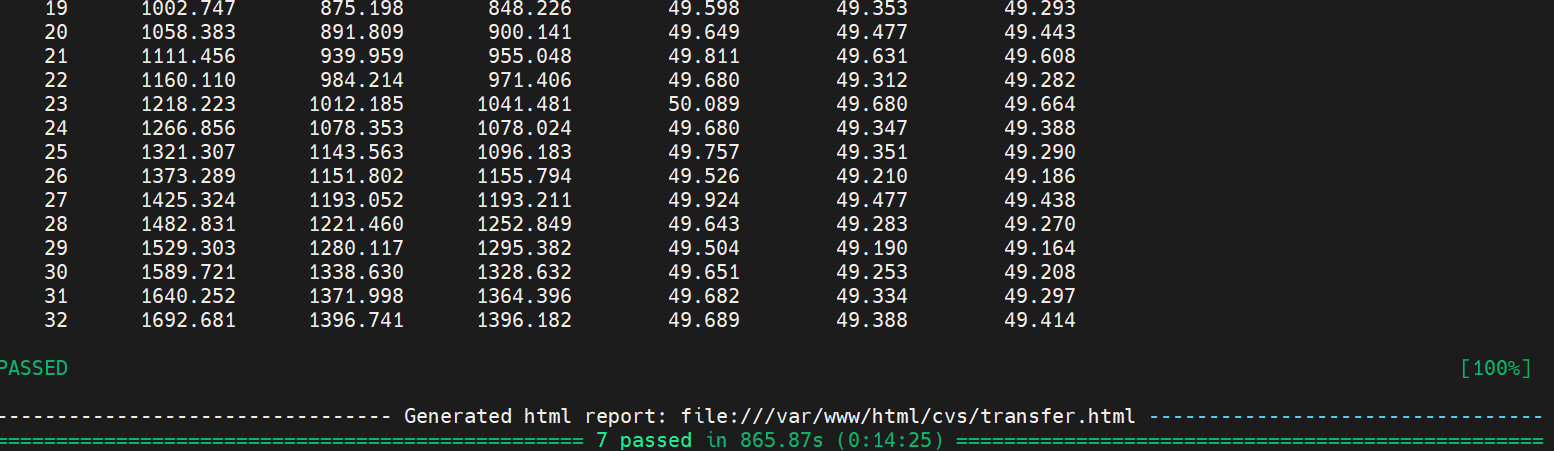
Here’s an example of the output when the test runs successfully:
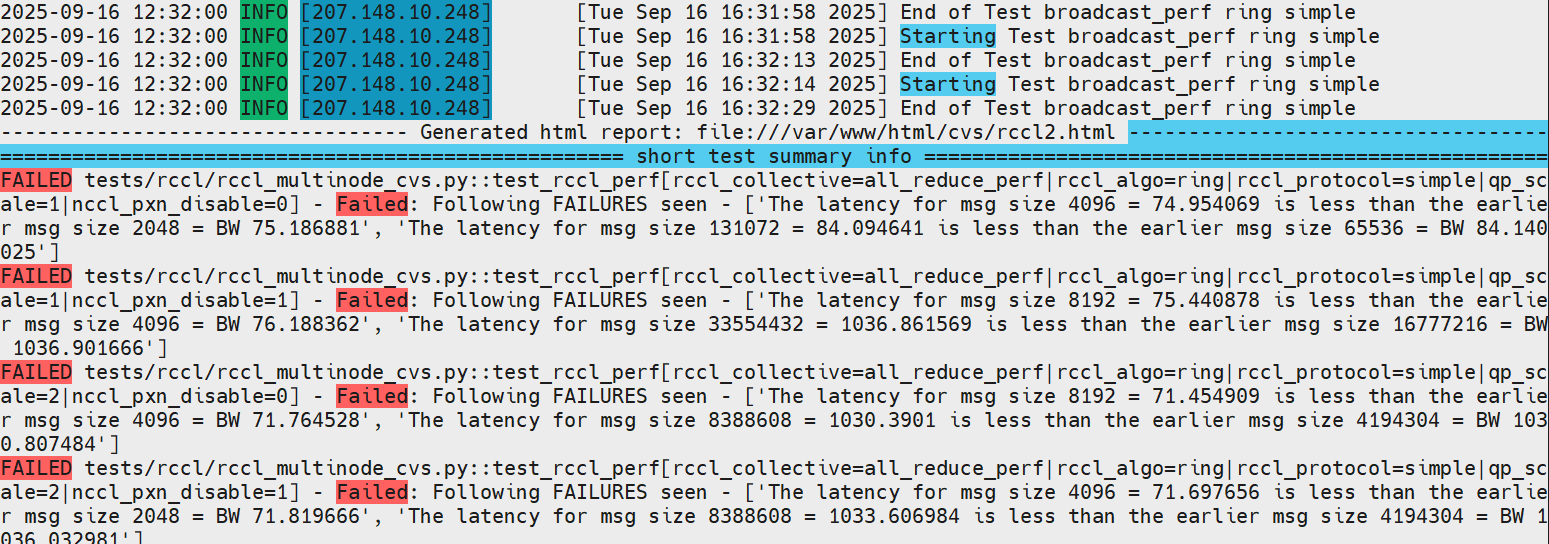
If the test fails, a message displays in the summary info:
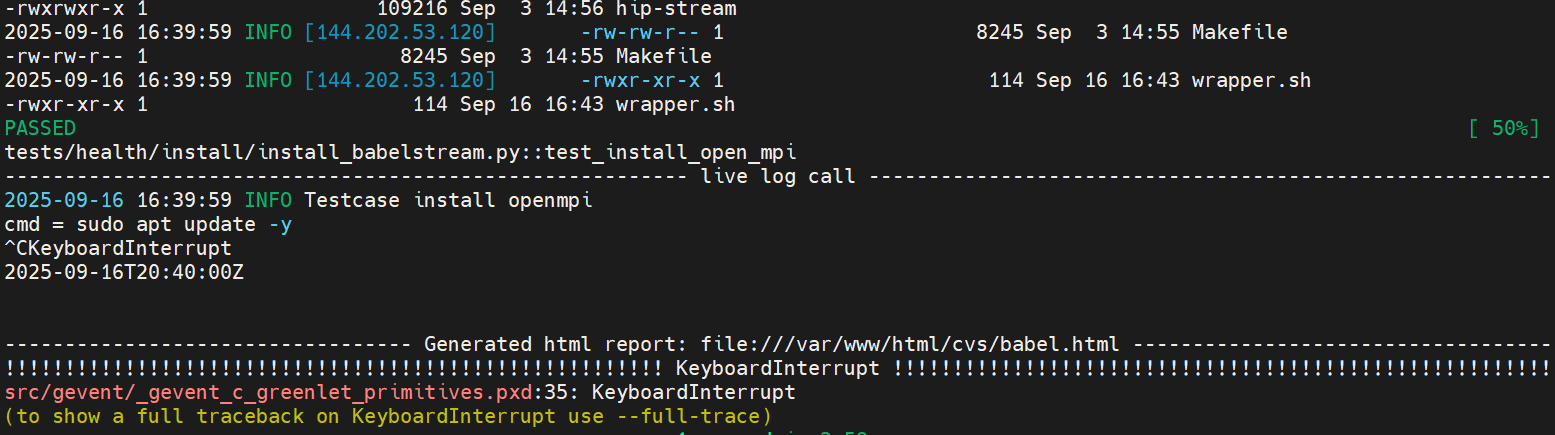
You can also cancel tests by pressing Ctrl-C: