Install HIP SDK#
2026-02-19
7 min read time
To install the HIP SDK on Windows, use the HIP SDK quick start installation or the instructions in HIP SDK command line installation. See System requirements (Windows) for more information about the required environment.
HIP SDK quick start installation#
For a quick summary on installing the HIP SDK on Windows, follow the steps listed on this page.
Download the installer.
Download the installer from the HIP SDK download page.
The download page lists supported OSes for each available ROCm version, and a link to download the corresponding installer. Select the download file matching the ROCm version you want to install.
Clicking the HIP SDK download link takes you to a license page that you must accept before the download will begin. Specify the location to save the downloaded file.
Launch the installer.
To launch the AMD HIP SDK Installer, click the Setup icon shown in the following image.
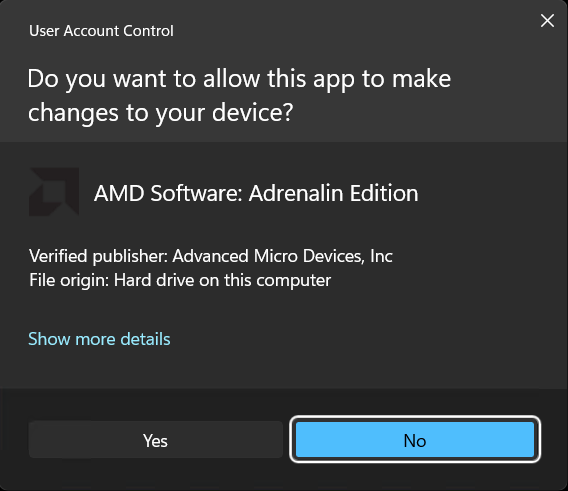
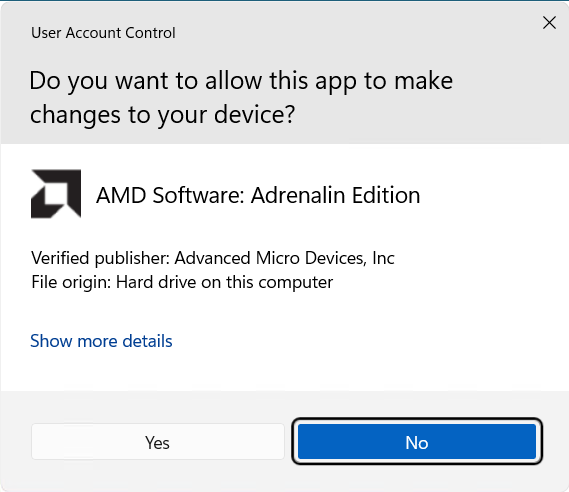
The installer requires Windows Administrator privileges, so the User Access Control (UAC) dialog box might display. Click Yes.
The installer executable will temporarily extract installer packages to
C:\AMD, which it removes after completing the installation. You’ll see the “Initializing install” window during extraction.
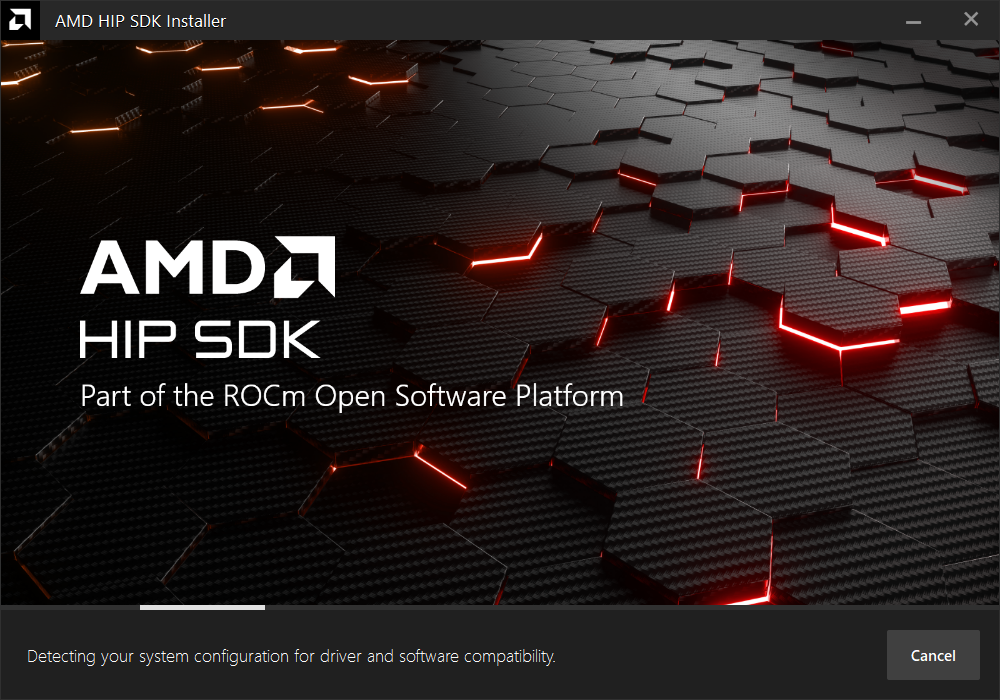
The installer will then detect your system configuration to determine which installable components are applicable.
Customize the install.
When the installer launches, it displays a window that lets you customize the installation. By default, all components are selected for installation.

HIP SDK installer
The HIP SDK installation options are listed in the following table.
HIP components
Install type
Additional options
HIP SDK Core
7.1.1
Install location
HIP Libraries
Full, Partial, None
Runtime, Development (Libs and headers)
HIP Runtime Compiler
Full, Partial, None
Runtime, Development (headers)
HIP Ray Tracing
Full, Partial, None
Runtime, Development (headers)
Full, Partial, None
Visual Studio 2017, 2019, 2022 Plugin
AMD ROCm Debugger
Full, Partial, None
AMD ROCm Debugger (ROCgdb)
Note
The
select/deselect alloptions only apply to the installation of HIP SDK components. To install the bundled AMD Display Driver, manually select the install type.Tip
Should you only wish to install a few select components, deselecting all, then selecting individual components may be more convenient.
AMD display driver
The HIP SDK installer bundles an AMD Radeon Software PRO 25.30 installer. The supported install options and types are summarized in the following tables:
Install option
Description
Install Location
Location on disk to store driver files.
Install Type
The breadth of components to be installed.
Factory Reset (optional)
A Factory Reset will remove all prior versions of AMD HIP SDK and drivers. You will not be able to roll back to previously installed drivers.
Install type
Description
Full Install
Provides all AMD Software features and controls for gaming, recording, streaming, and tweaking the performance on your graphics hardware.
Minimal Install
Provides only the basic controls for AMD Software features and does not include advanced features such as performance tweaking or recording and capturing content.
Driver Only
Provides no user interface for AMD Software features.
Note
You must perform a system restart for a complete installation of the Display driver.
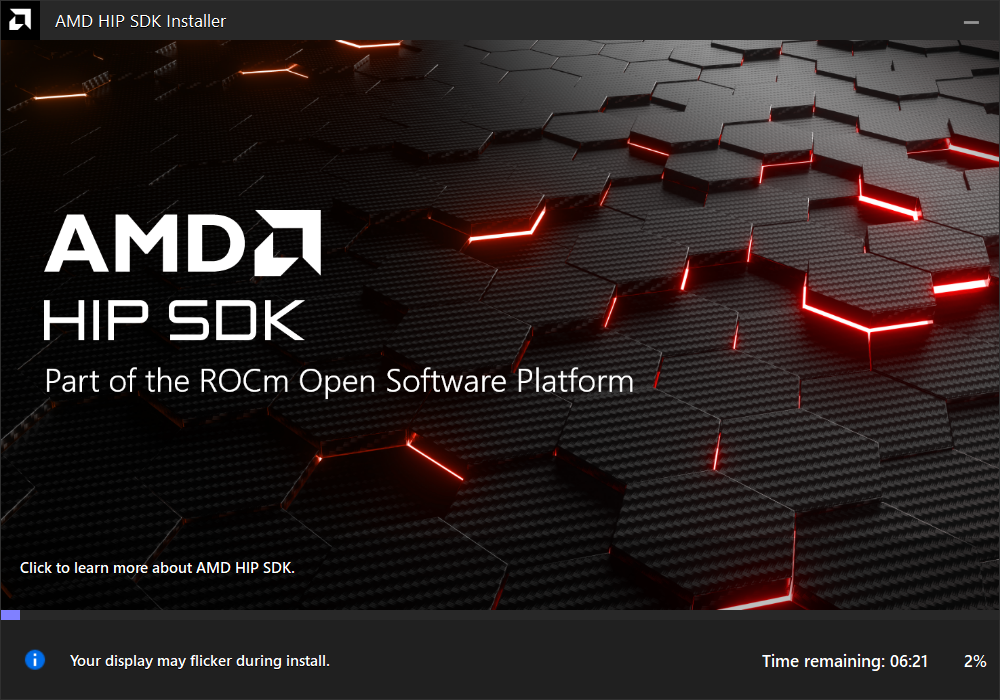
Install components.
Wait for the installation to complete, as shown in the following image.
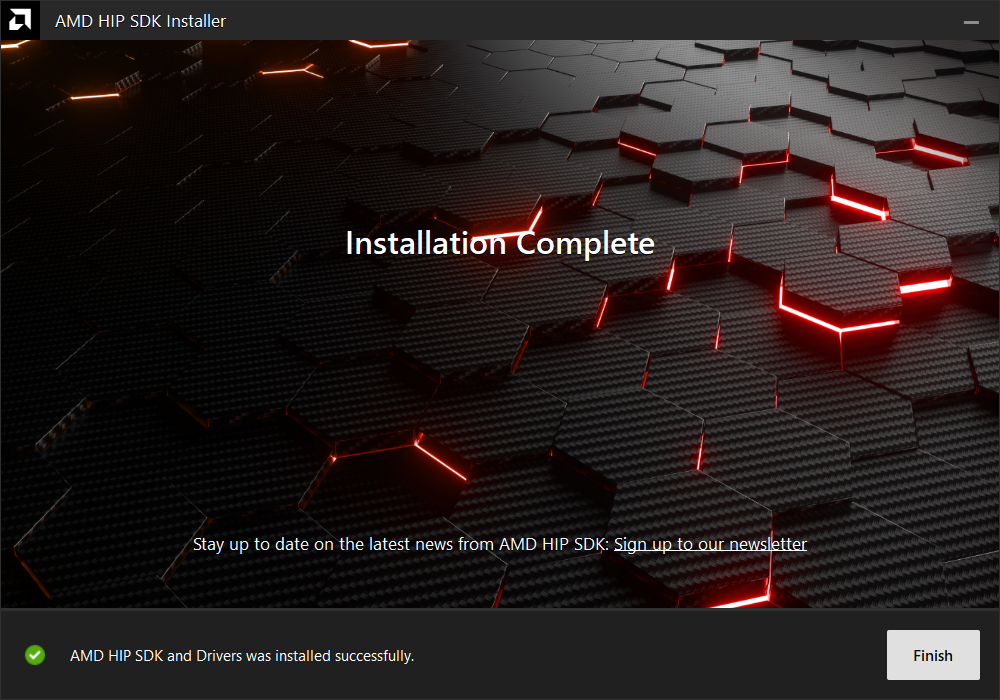
Complete installation.
After the installation is complete, the installer window might prompt you for a system restart. Click Finish or Restart in the lower-right corner, as shown in the following image.
Note
If the installer terminates mid-installation, you can safely remove the temporary directory created under
C:\AMD. Installed components don’t depend on this folder unless you explicitly chose this as the install folder.
HIP SDK command line installation#
The following information provides instructions for installing from the Windows command line. To start the installation, follow these steps:
1. Download the installer from the HIP-SDK download page.
2. Launch the installer. Note that the installer is a graphical application with a WinMain entry
point, even when called on the command line. This means that the application lifetime is tied to a
window, even on headless systems where that window may not be visible.
Start-Process $InstallerExecutable -ArgumentList $InstallerArgs -NoNewWindow -Wait
Important
Running the installer requires Administrator privileges.
Command line options are listed in the following table:
Install option |
Description |
|---|---|
|
Command used to install packages, both driver and applications. No output to the screen. |
|
Silent install with auto reboot. |
|
Write install result code to the specified log file. The specified log file must be on a local machine. Double quotes are needed if there are spaces in the log file path. |
|
Command to uninstall all packages installed by this installer on the system. There is no option to specify which packages to uninstall. |
|
Silent uninstall with auto reboot. |
|
Shows a brief description of all switch commands. |
Note
Unlike the GUI, the CLI doesn’t support selectively installing parts of the SDK bundle.
To install all components:
Start-Process ~\Downloads\Setup.exe -ArgumentList '-install','-log',"${env:USERPROFILE}\installer_log.txt" -NoNewWindow -Wait
Setup the Windows environment#
To run HIP SDK on the Windows environment, you must use the following steps:
Add HIP installation to the
$PATHof the to theSystemvariables using theSystem Properties -> Environment Variables -> Path -> Addcommand:
C:\Program Files\AMD\ROCm\7.1\bin
You can also set it for a new terminal using the following command:
$env:PATH += ;C:\\Program Files\\AMD\\ROCm\\7.1\\bin
echo $PATH
Use
hipconfigorhipInfoto test the installation and make sure the commands are loaded:
hipInfo
hipconfig
Upgrade HIP SDK#
To upgrade the HIP SDK, you can run the installer for the newer version without uninstalling the existing version. You can also uninstall the HIP SDK before installing the newest version.
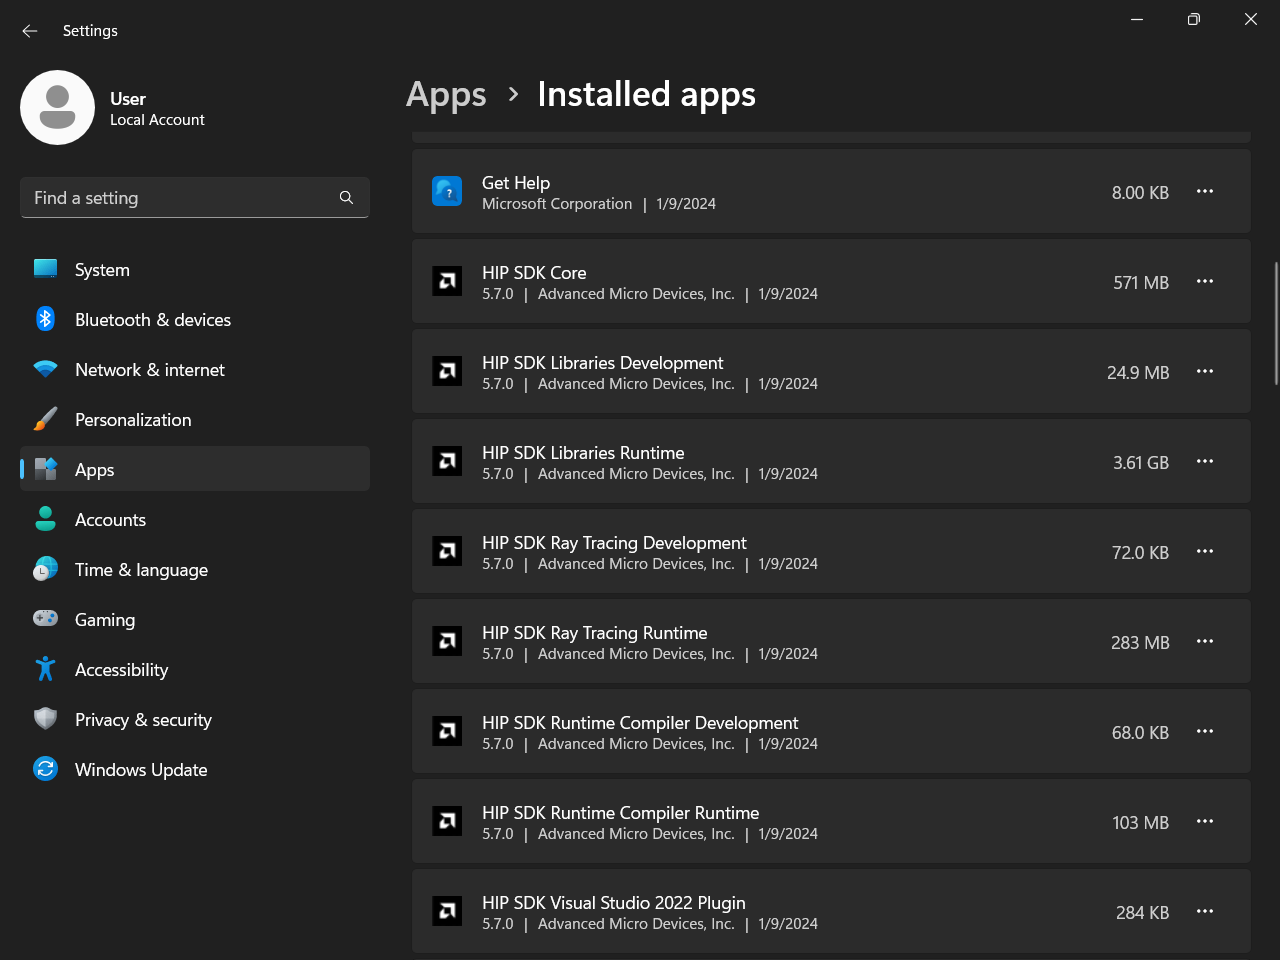
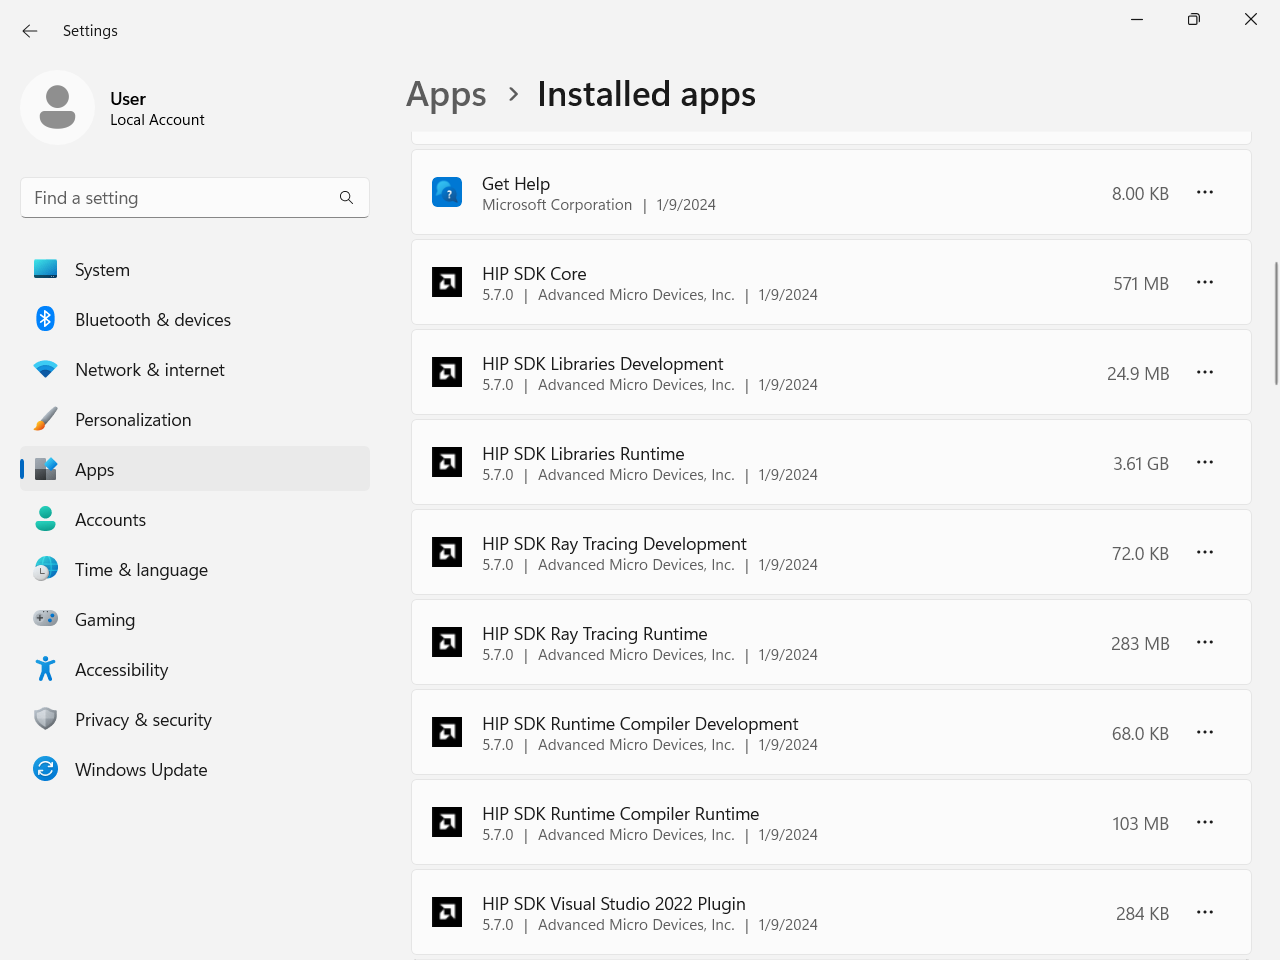
Uninstall HIP SDK#
All components, except the Visual Studio plug-in, should be uninstalled through Control Panel > Add/Remove Program. You can uninstall HIP SDK components through the Windows Settings app. Navigate to “Apps > Installed apps”, click the ellipsis (…) on the far right next to the component you want to uninstall, then click “Uninstall”.
Launch the installer. Note that the installer is a graphical application with a WinMain entry
point, even when called on the command line. This means that the application lifetime is tied to a
window, even on headless systems where that window may not be visible.
Start-Process $InstallerExecutable -ArgumentList $InstallerArgs -NoNewWindow -Wait
Important
Running the installer requires Administrator privileges.
To uninstall all components, use the following code:
Start-Process ~\Downloads\Setup.exe -ArgumentList '-uninstall' -NoNewWindow -Wait
Uninstallation of HIP SDK components can be done through the Windows Settings app. Navigate to “Apps > Installed apps” and click the ellipsis (…) on the far right next to the component you want to uninstall. Click “Uninstall”.