Install PyTorch and ComfyUI on ROCm 7.10.0#
This topic guides you through installing PyTorch with ROCm support on AMD hardware. It applies to supported AMD GPUs and platforms. It also includes additional setup steps for ComfyUI, showcasing AI-powered image generation.
Instinct MI350X
Instinct MI300X
Instinct MI300A
Instinct MI250
Instinct MI210
Radeon PRO W7900
Radeon PRO W7800 48GB
Radeon PRO W7800
Radeon RX 7900 XT
Radeon RX 7900 GRE
Radeon RX 7700 XT
Ryzen AI Max PRO 390, 385, 380
Ryzen AI Max+ 395
Ryzen AI Max 390, 385
Ryzen AI 9 HX 370
Ryzen AI 9 365
Prerequisites#
Ensure your system has a supported Python version installed and accessible: 3.11, 3.12, or 3.13.
Review the ROCm 7.10.0 compatibility matrix for more details.
Install PyTorch#
For prerequisite steps and post-installation recommendations, see the ROCm installation instructions.
Set up your Python virtual environment. If you already have a successful ROCm 7.10.0 installation using pip, skip this step.
For example, run the following command to create a virtual environment:
python3.12 -m venv .venv
Activate your Python virtual environment. For example:
Install the appropriate ROCm-enabled PyTorch build for your operating system and AMD hardware architecture.
Check your PyTorch installation.
python -c "import torch; print(torch.cuda.is_available())"
This prints
Trueif PyTorch and ROCm are installed properly.
Optionally, for a demonstration of ROCm-powered image generation, try ComfyUI on Windows.
Install and run ComfyUI#
Ensure your working environment is running ROCm-enabled PyTorch on a supported system. See Install PyTorch for instructions.
Clone the ComfyUI repository.
git clone https://github.com/comfyanonymous/ComfyUI.git
Install Python dependencies.
Run ComfyUI.
Start the ComfyUI server from the command line.
This will start the server and display a prompt like:
To see the GUI go to: http://127.0.0.1:8188
Navigate to
http://127.0.0.1:8188in your web browser. You might need to replace8188with the appropriate port number.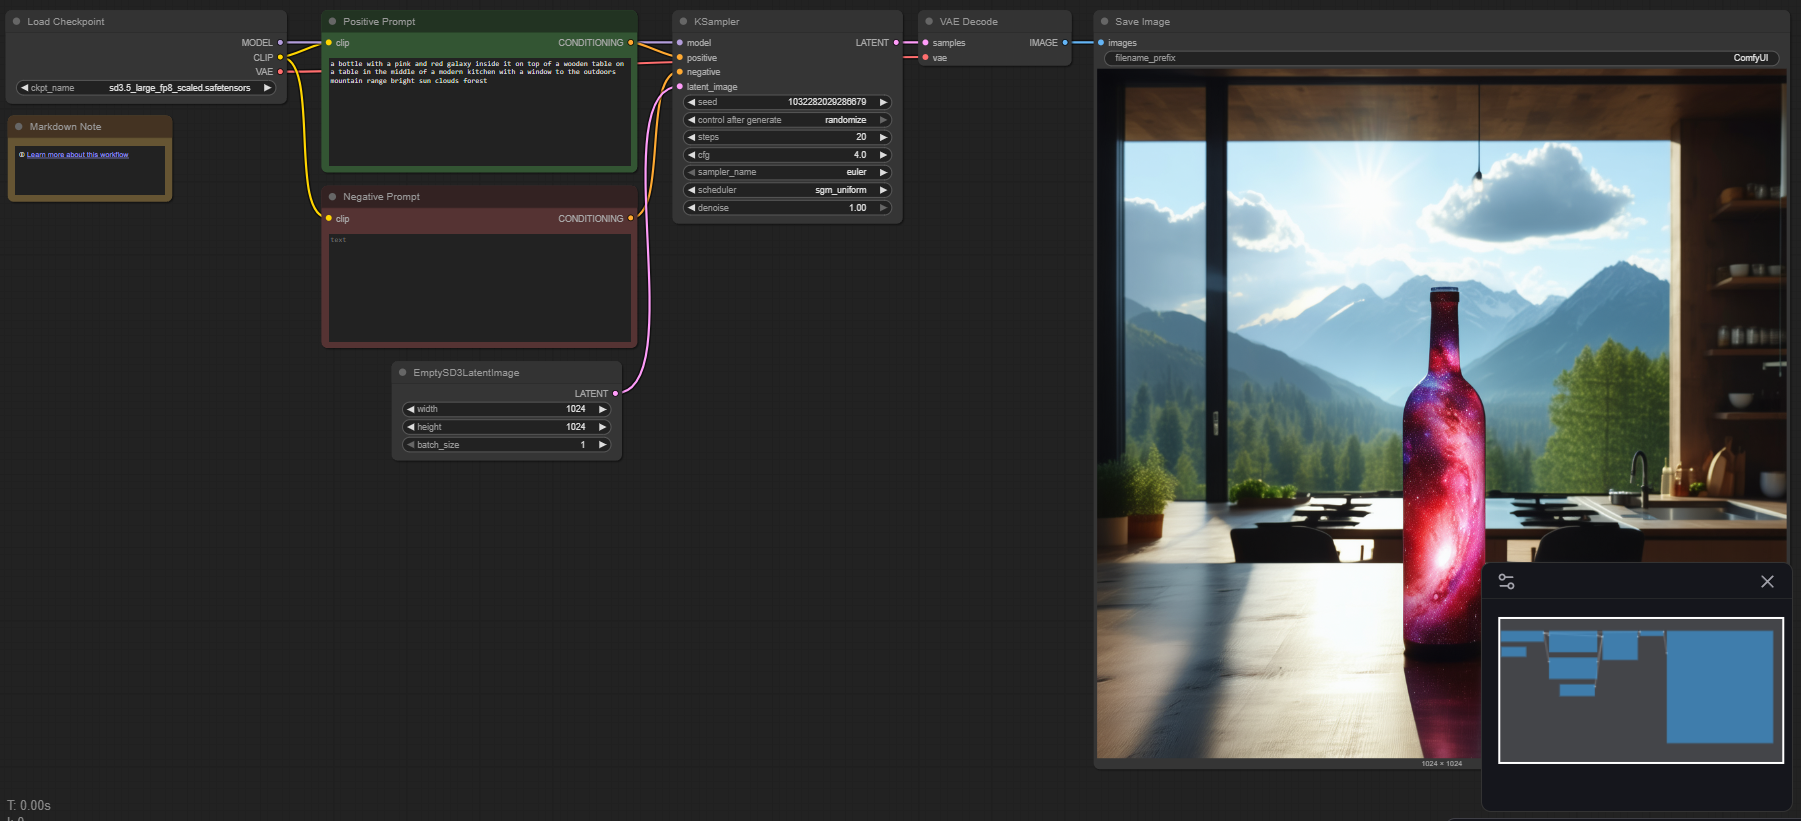
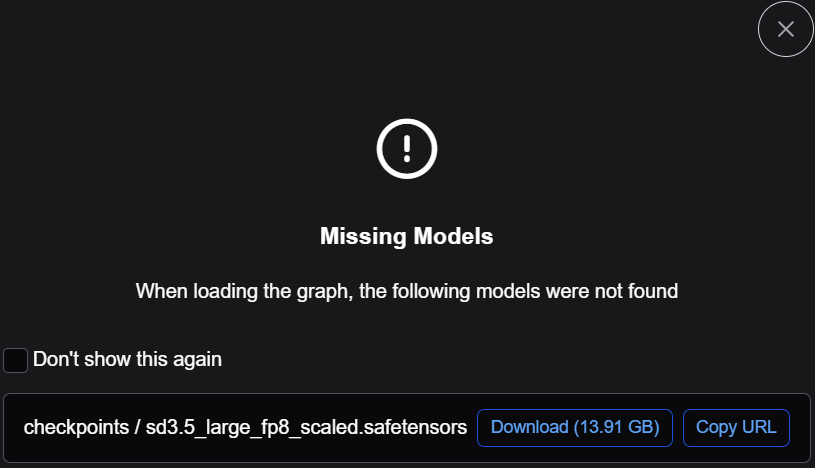
Search for one of the following templates and download any missing models.
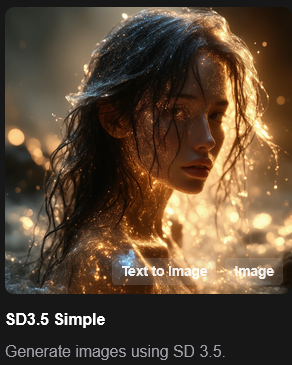
Select Template → Model Filter → SD3.5 → SD3.5 Simple
Download required models, if missing.
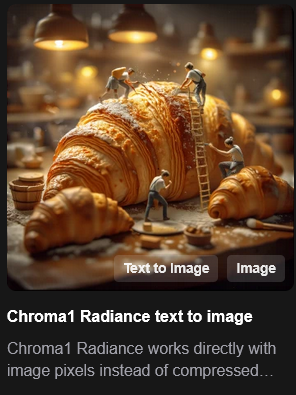
Select Template → Model Filter → Chroma → Chroma1 Radiance text to image
Download required models, if missing.

Click the Run button.
The application will use your AMD GPU to convert the prompted text to an image.